

Conclusion
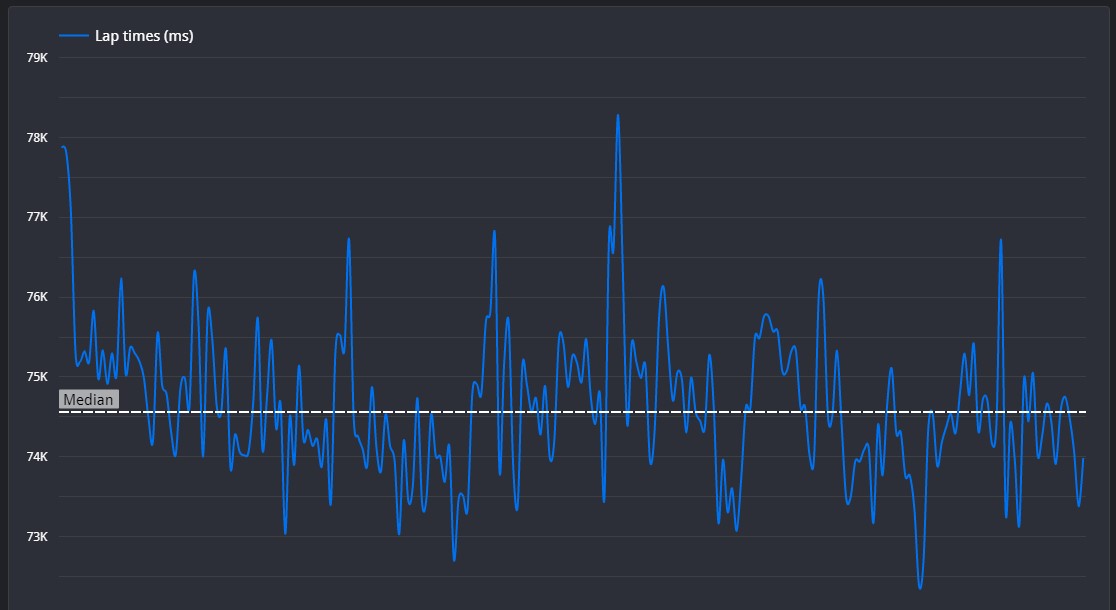
Your line for this session seems to be much closer to the ideal line that previously, so this is a great step forward. However, I can still see that you blip the throttle on the way into a lot of the corners, and especially for a track with margins as fine as this, it greatly affects you in a number of places. Make sure to have one fluid movement off the brakes and onto the throttle, but only when you absolutely need to.
Set Up Advice
You mentioned that you had previously been using the recommended setups despite me not realising that. It seemed in a number of places that the setup was naturally not as capable as that used by the reference lap, so sorry about that.
For this track in particular, there are plenty of low speed corners that can gain a lot of time, such as the first two corners and the hairpin before the long back straight. Aerodynamics need to be fairly high here to help with all the turning, but make sure to also soften the suspension to help with this further. There are not many long corners though, so the anti-roll bars can be set relatively high to help with initial turn in.
Segment 1
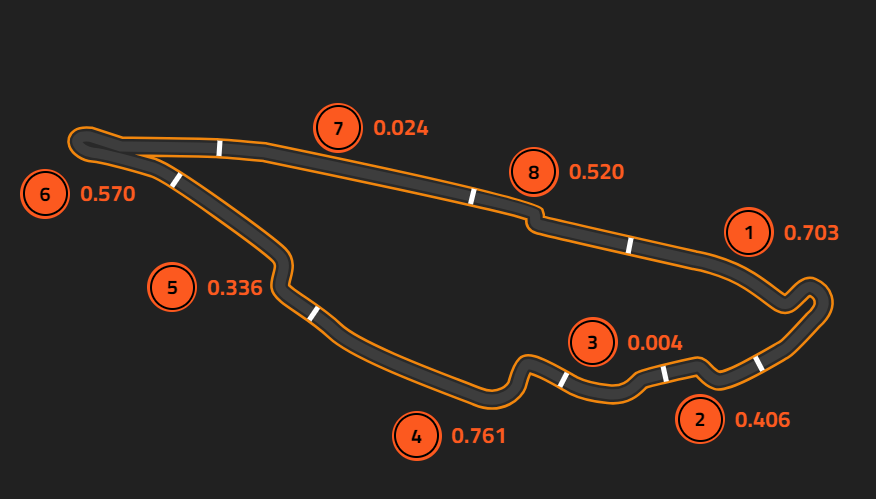
☐ Your line on entry is very good, you even start braking from slightly wider than the reference lap. However, your braking begins slightly early, and you're still fully on the throttle during the early part of your braking, which means that you have the space to brake slightly later. Up until the first apex, you line is identical to the reference lap, but you take a much shallower exit to try and set yourself up for the next apex. However, because the corner is so long, you can afford to take much more speed out of the first apex and continue to slow throughout the second apex. It will also help you to get a straighter exit, helping your acceleration a lot.
Segment 2
☐ Your line throughout is very close to the reference lap, with the only real difference being that you could have a straighter line between the two apexes. This would also help you carry more speed, and it seems like that's the main thing for you to focus on for this segment. Try to build the confidence to carry as much speed as the car will allow.
Segment 3
☐ This segment is driven flat out.
Segment 4
☐ Your line overall is very nice, however there is one slight mistake which costs you most of your time. Just before you apex for the first corner, you blip the throttle, and this gives you understeer, forcing you off your line for the second apex. This means that you have to slow down more than necessary, and it also means that your exit is not as straight as it could have been. Try to make sure that you maximise the exit of the second apex here, so keep your line neat and tidy throughout.
Segment 5
☐ Again, your line throughout is very good, but overall your speed is slightly lower. You brake early here, so try and build the confidence to brake later and be smooth with the steering and throttle.
Segment 6
☐ You brake slightly earlier and turn slightly later than the reference lap here, but due to your small throttle blip, it forces you to lower your entry speed further than you need to. You are also slightly slower to reach full throttle, so try to build confidence to accelerate quicker from 0% to 100%
Segment 7
☐ This segment is driven flat out.
Segment 8
☐ Unfortunately there is slightly too much lag here to determine where to go quicker, however these corners require a lot of confidence to brake late and drive as straight of a line as possible. Be sure to be careful on the throttle to avoid the rear stepping out and tagging the Wall of Champions
©Track Titan 2026. All rights reserved


