

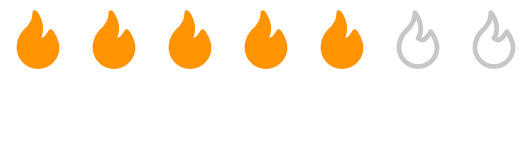
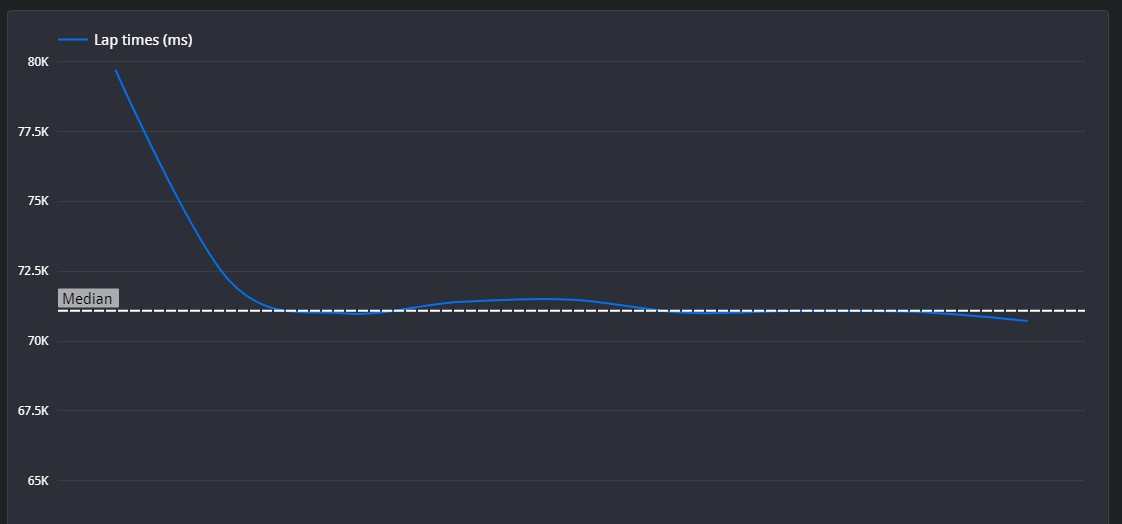
Overall, you have some impressive lines and clean throttle inputs. Your braking seems to bleed off early, and this can be an area that can gain a fair amount of time. Building confidence here will help bring lap times down on any circuit, not just here.
Montreal is a difficult track to get right in terms of setup. Make sure the car is willing to turn, because of all the slow and medium speed chicanes. This means fairly high anti roll bars and low differential settings. High downforce and fairly soft suspension will also help here, but make sure that you won't lose masses of time down the back straight.
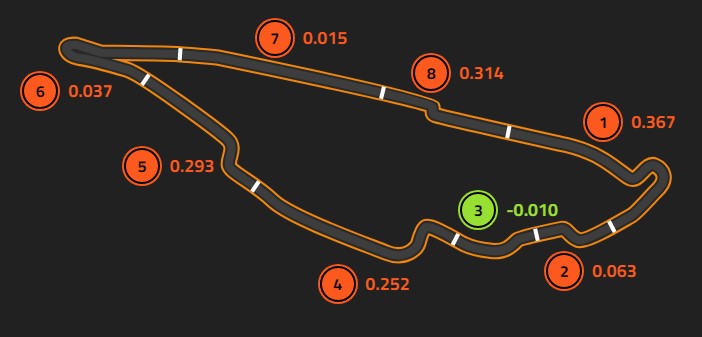
☐ The initial stage of this segment is very well done, with a smooth entry line. Your braking comes at the right time, if slightly early, but I notice you start bleeding off earlier than the reference lap. This means that you're not at 100% for as long as the reference lap, leading to a slight amount of understeer on entry. For a car like this, you can press hard on the brakes for a while before needing to bleed off, so keep that in mind and it will help you to slow the car and rotate into the corner. For the second apex, your braking comes much later, and it pushes you away from the apex. The reference lap hugs the inside line for this corner, so try to emulate that and it will help bring your minimum speed up.
☐ This segment is driven very nicely, with the only improvement being to brake slightly later and slightly quicker. You can also accelerate ever so slightly sooner, and this will help create a racing line that will naturally extend right to the exit wall.
☐ This segment is driven very nicely, no improvement to be made.
☐ Similarly to turn 1, I see that you start to bleed off the brakes very early. This shows that there is opportunity to brake slightly later, if you hold at peak force for longer. Your line is good, but you can afford to turn ever so slightly later to line yourself up better for the second apex. Your line and throttle throughout it very good, with an opportunity to use slightly more throttle between the apexes to help slingshot you out of the exit.
☐ Your braking is good, however I notice that you start bleeding off earlier than necessary. This is OK, but it means that there is opportunity to brake even later. However, there is a lot of throttle use between the two apexes, and it causes you to lift off part way round the second apex. This will compromise your exit onto the short straight, and it's important that you aim to keep increasing the throttle throughout the rest of this corner
☐ As with previously, you brake very well although the bleed off comes earlier than it needs to, showing that it's possible to brake slightly later. You take a noticeably wider line than the reference lap, however it doesn't appear to be slower overall, as it would help your exit for the next long straight. Your throttle graph proves this by being mush quicker to reach 100%, so overall, this segment is very nicely driven with only minor refinements to the braking needed.
☐ This segment is flat and driven smoothly.
☐ Your application of the brakes is identical to the reference lap, however I again see that you're bleeding off earlier than the reference lap, which will lessen the effectiveness of the braking. Despite this, your bleed off is slower, meaning you are actually on the brakes for longer than the reference lap, and this slows you down more than you need. Your line is identical to the reference lap, which is very good, and your throttle response is very similar. I do see a small hesitation right at the end of the acceleration, so be sure you have the confidence to smoothly apply the throttle all the way to 100%.
©Track Titan 2026. All rights reserved


