


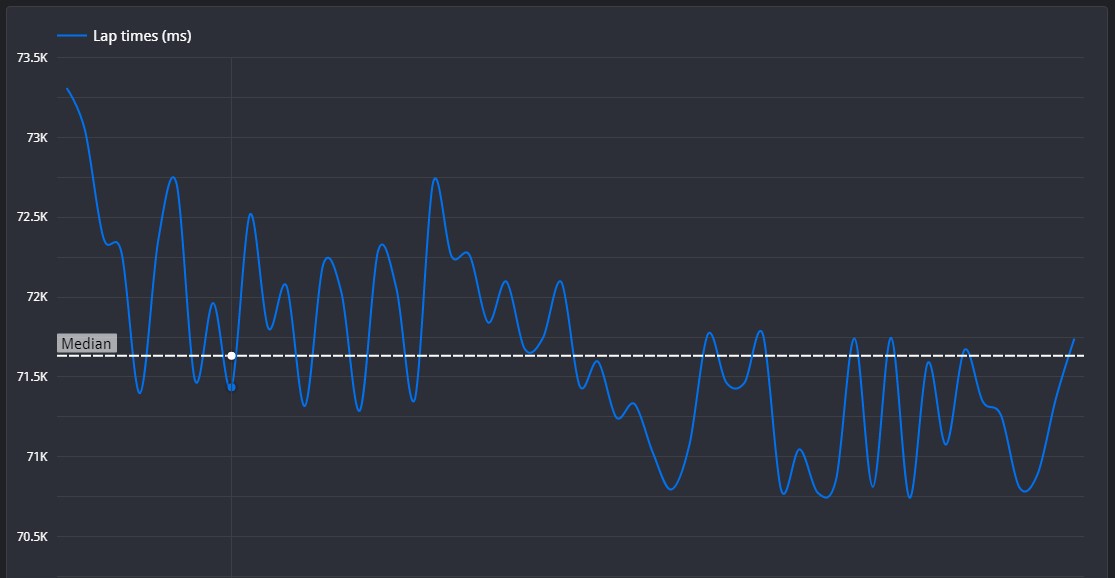
There are some fantastic lines on show here, but it seems like there's a tendency to take a while to brake to full force. For high downforce cars, you can apply the brakes very quickly and slowly bleed off afterwards.
For Montreal, a high downforce setup can help through all the turns of the first two sectors. Make sure that you sacrifice as little top speed as you can to prepare for the long straight. This usually means medium downforce but soft suspension.
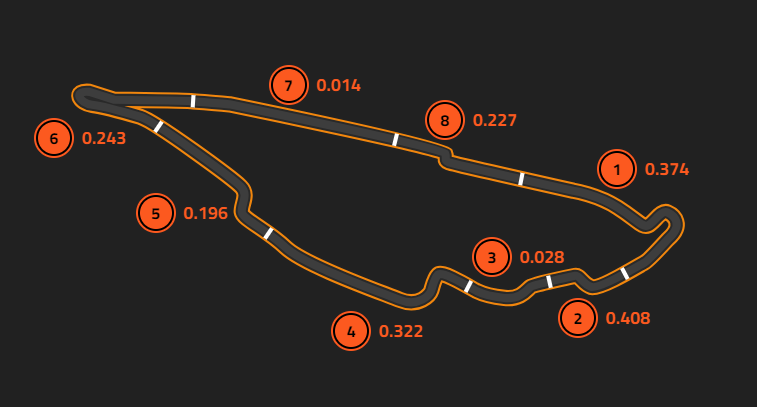
☐ Your entry line and initial braking is almost identical to the reference lap, however you don't brake the same amount for the second apex so understeer starts to creep in as soon as you start accelerating, meaning you're on a wide line compared to the reference lap, costing you time. Make sure that you slow enough for the second apex to avoid understeering wide on exit.
☐ When compared to the reference lap, your line is very good, but you brake much more. This will most likely cause a small amount of understeer, which would explain why you're slightly wide just before the apex. This means you would then need to over-slow the car to turn in fully, so make sure that you use as little of a brake as you can get away with.
☐ This section is driven flat out
☐ For the first apex, you can ride the kerb quite a bit, so there is time to find for the first apex. You start accelerating very early, so you have to lift more for the second apex, costing you time down the straight. Make sure that you can accelerate late enough to have minimal lift round the second apex.
☐ Your line throughout is almost faultless. Your braking takes a while to reach full force, so make sure that you jump on the brakes quickly. This also means that you hold the brakes for slightly longer than the reference lap, over-slowing the car.
☐ There are a few lines for this corner, but usually the quickest and most reliable is to take the full inside line. You have opted to take the wider line, but this has costed you in terms of your acceleration. Make sure that your line is as straight as it can be while accelerating.
☐ This segment is flat out.
☐ Similar to segment 5, your line is almost perfect, but your braking still takes a little longer than the reference lap to reach full force. You also accelerate slightly too early, and it means that you have to lift off more than the reference lap in order to avoid the wall on exit. Make sure that you can accelerate smoothly to 100% without having to adjust later on.
©Track Titan 2026. All rights reserved


