


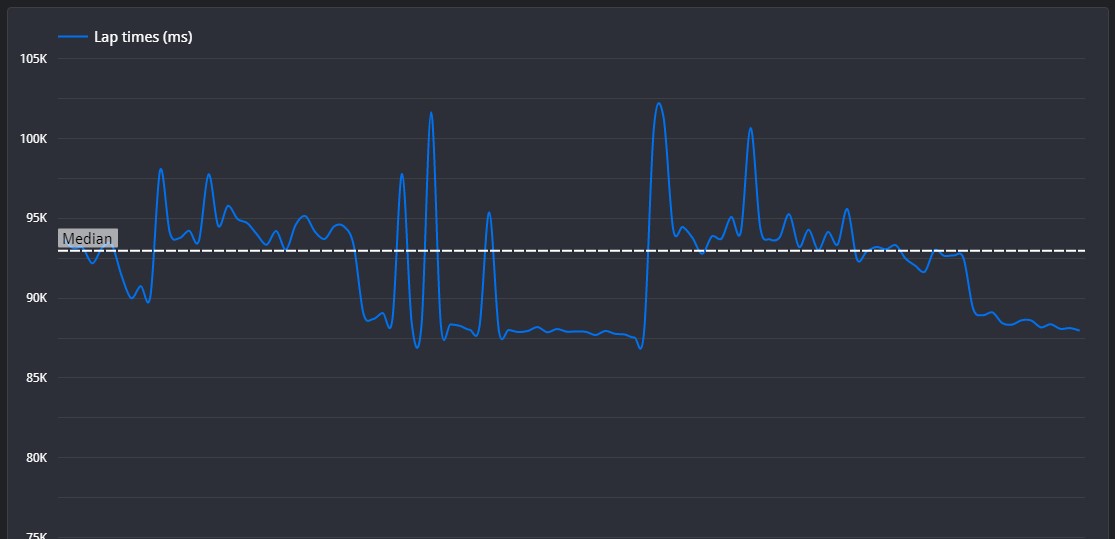
This is a very impressive lap. Your line throughout is very good, almost identical to the reference lap. I notice a small tendency for you to not reach full brake force, or to have small hesitations under acceleration, both of these will reduce the time spend under full power.
Jeddah is a uniquely fast street circuit. A lot of long corners, but many quick direction changes. Make sure your suspension is on the firmer side, but not so much that the car doesn't give enough grip to be comfortable switching directions. Downforce needs to be fairly low, but again make sure that the car is always comfortable during the quick turns.
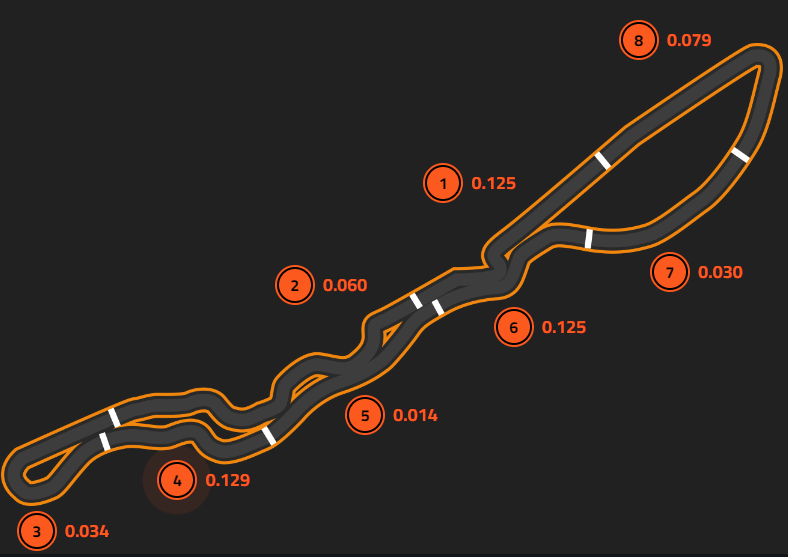
☐ Your line throughout here is practically identical to the reference lap, however your release of the brakes is initially slower. This slows you down a little too much when compared to the reference lap. Try to bleed off the brakes a little quicker to spend as little time slowing down as possible, and preserving speed into the first apex.
☐ Again, your line throughout is identical, so there's no need for me to comment on it. You brake earlier for the first corner of this segment, but this allows you to accelerate earlier and gain some time back. Both you and the reference lap lift through the following apex, but you lift more, costing you time in comparison. The biggest difference however comes the apex after that. Again you both lift, but you lift more, costing you time again. You brake slightly earlier and slightly less for the next braking zone, initially costing you time but allowing you to accelerate earlier and gaining the time back. Overall, this sector is practically identical to the reference lap in terms of time.
☐ One thing I notice is that your braking never reaches 100%, but instead reaches around 80% and begins to trail off more gently than the reference lap. This does appear to loose you a slight amount of time on entry but your line is much wider around the apex. This means that your apex speed is higher and you can gain back that slight amount of time. This line means that you initially lose time at the start of the exit, but you have a straighter line which eventually evens out the time loss. Again, the time loss here is negligible, and you've driven very well.
☐ Your line is again very similar to the reference lap, so there is not much time being gained or lost here. Your braking is very similar to the previous segment, you never reach 100% but you trail off the brakes slower than the reference lap. This doesn't have the same effect as braking normally, so make sure that you brake hard initially before trailing off. High downforce cars such as these will allow you to bleed off the brakes fairly quickly. During acceleration, there is a small hesitation which loses you time, make sure that you have the confidence to keep increasing the throttle at the same rate.
☐ This segment is driven flat out.
☐ I can see a similar brake trace to segment 5 again, so make sure that you have a sharper braking motion to reduce the time you spend slowing down. I see quite a large hesitation on the throttle again, so make sure you have a smooth increase on the throttle.
☐ This segment is driven flat out.
☐ Your braking matches almost identically with the reference lap, along with your line . The only thing I see slowing you down is your acceleration, where there's a little hesitation again, costing you time down the long home straight. Make sure your throttle input is smooth, especially for a corner leading onto such an important straight
©Track Titan 2026. All rights reserved


